The document camera is an imaging device for producing live images of objects. Objects can be 2-dimensional (printed documents, photos, books, etc.) or 3-dimensional (flowers, mechanical instruments, sculptures, electronic components, etc.).
|
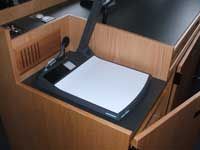
A. The document camera is located on the top of the multimedia lectern.
|
|
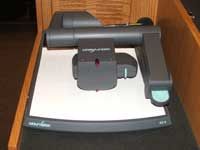
B1. If the unit is in its collapsed position (folded)…
|
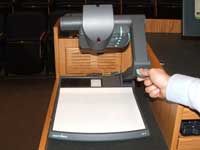
|
B2. …then straighten the neck by gently pushing the blue-green tab away from you.
|
|
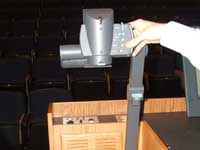
C. Adjust the head (camera) if needed so that it is aiming directly downward onto the document camera’s base.
|
|
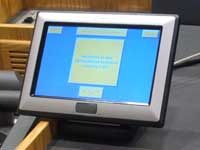
D. Locate the touchpanel on the lectern top.
|
|
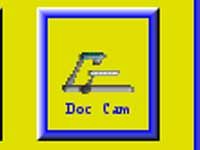
E. Select the Document Camera for projection by pressing the “Doc Cam” button in the left portion of the touch panel.
|
|
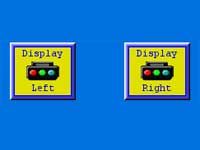
F. For classrooms with two projectors, project the DocCam onto the left or right screen by pressing the appropriate display button in the lower portion of the touch panel.
|
|
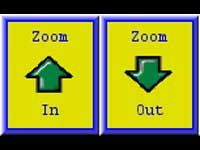
G. Use the ZOOM controls on the touch panel or on the buttons on the camera’s head to adjust the size of the image on the screen.
|
|
H. The document camera should automatically focus on your document when the “Auto Focus” button has been pressed. But if needed, use the focus controls to make minor adjustments.
|