The input panel is used to connect a laptop, auxiliary microphone, or other external source to the projection system. Since this is not a device adjusted specifically for the installed system, please test this device in the classroom prior to the event. If you would like assistance, please schedule a testing session with Classroom Technology staff.
|
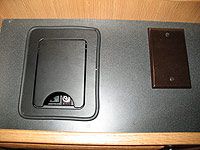
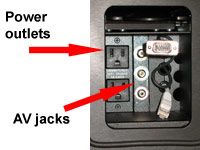
A. Locate the Input Panel on top of the multimedia lectern at the front of the classroom.
|
|
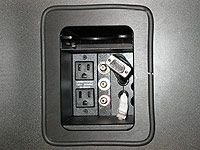
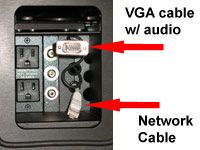
B. Determine the correct connections needed to attach your device to the input panel and provide the necessary cables if needed.
|
|
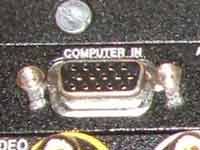
C. For connecting a laptop, please follow the directions on the Laptop Instruction Page.
|
|
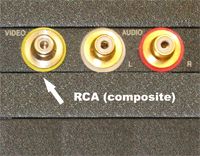
D. To connect an auxiliary standard definition video device (such as a VCR) to the projection system, use the composite RCA jacks. Use the yellow connector for video, and the white and red connectors for left and right audio.
|
|
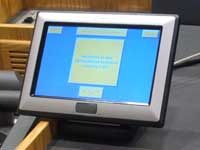
E. Locate the touchpanel on the lectern top.
|
|
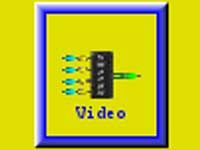
F. Route the composite video/audio device’s image to the projector by pressing the video source button.
|
|
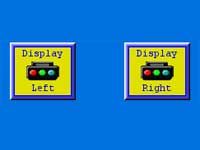
G. For classrooms with two projectors, project the device onto the left or right screen by pressing the appropriate display button in the lower portion of the touch panel.
|
|
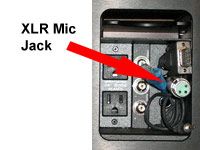
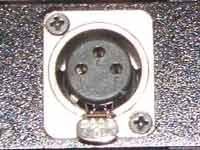
H. To connect an auxiliary microphone, use the XLR jack to connect your microphone to the system. Audio level is controlled with the Mic volume slider bar.
|