The input panel is used to connect a
laptop,
auxiliary microphone, or other external source to the projection system.
When connecting devices, please test them prior to your classroom event. Depending
on the connection types needed for your device, you may need to supply cables or
adapters. If you would like assistance, please schedule a testing session with
Classroom Technology staff.
-
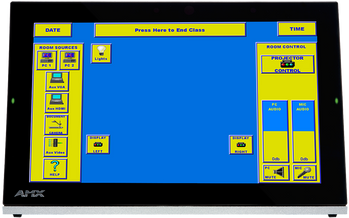
Locate the touchpanel screen and input panel box on top of
the multimedia lectern at the front of the classroom.
|
|
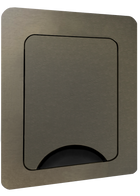
The input panel (lower image shown closed) allows physical
connection of external sources and the touchpanel (upper image) allows
selecting those sources.
|
-
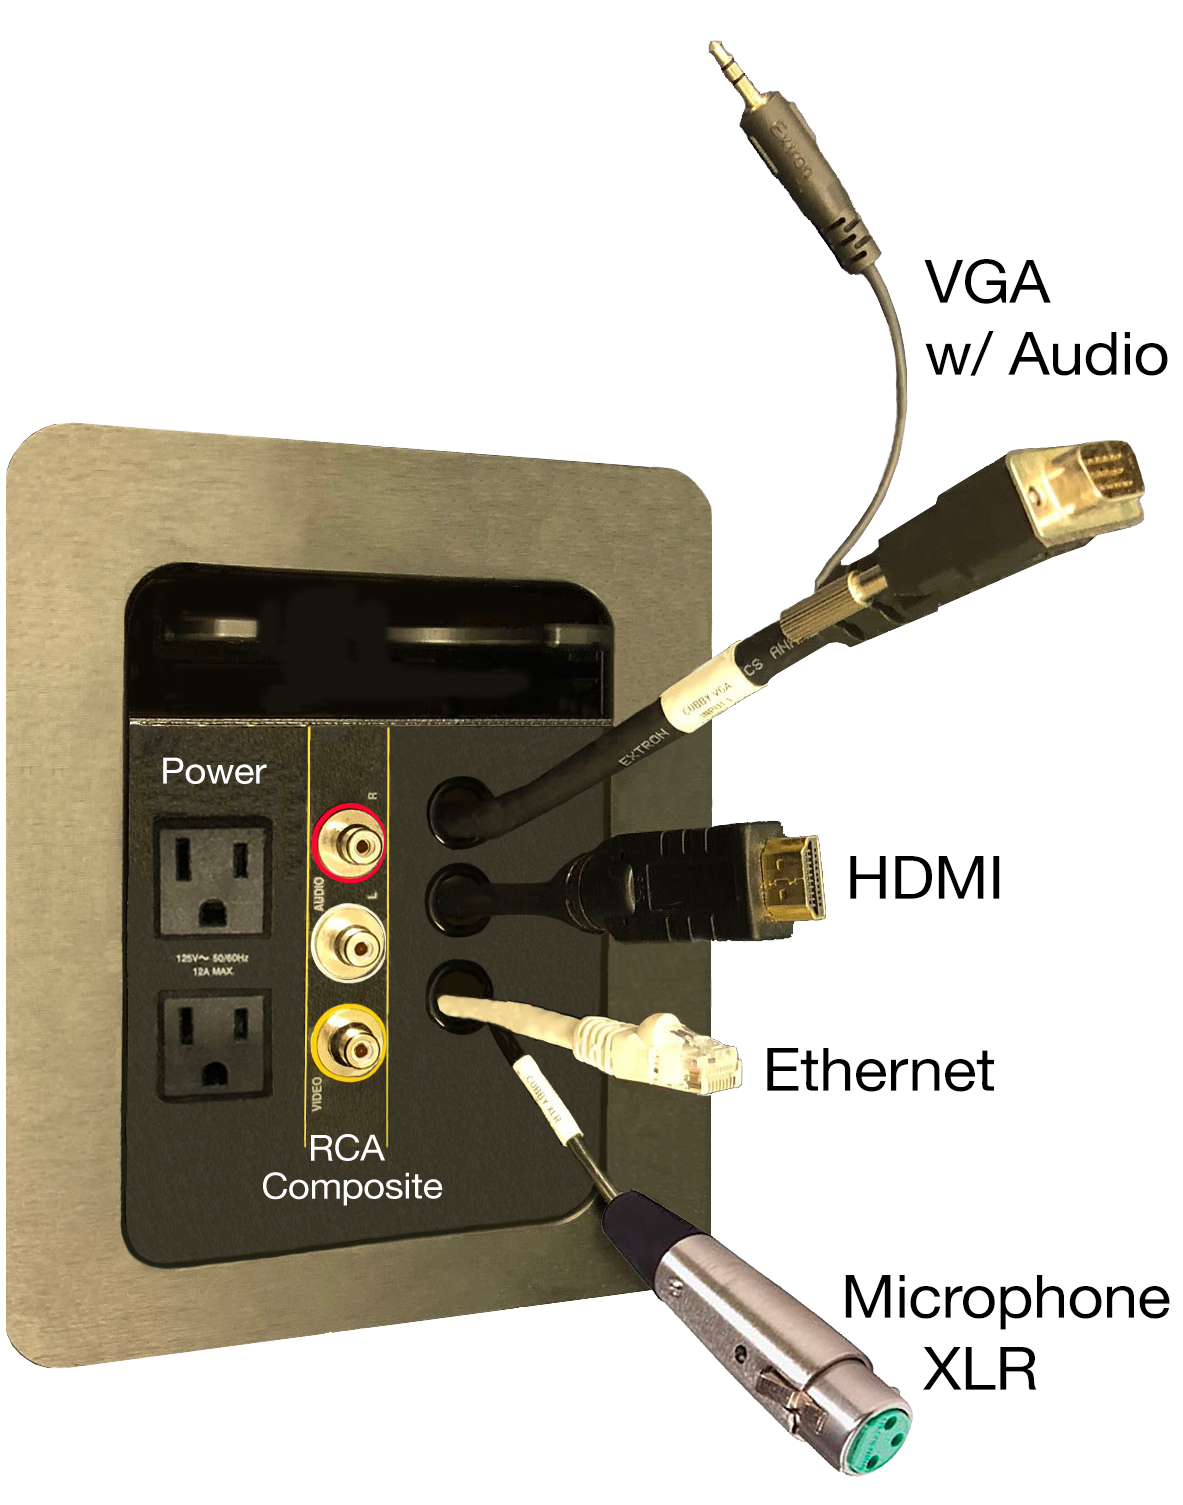
Open the input panel and determine the connections needed to attach your
device.
|
|
The panel provides:
-
Power outlets
- RCA-type jacks for composite video and left and right audio
- VGA video cable with companion audio plug
- HDMI cable for video sources
- Ethernet cable for network connectivity
-
Microphone XLR cable to connect an external microphone
|
-
Make the appropriate connections and select the source on the touchpanel.
|
|
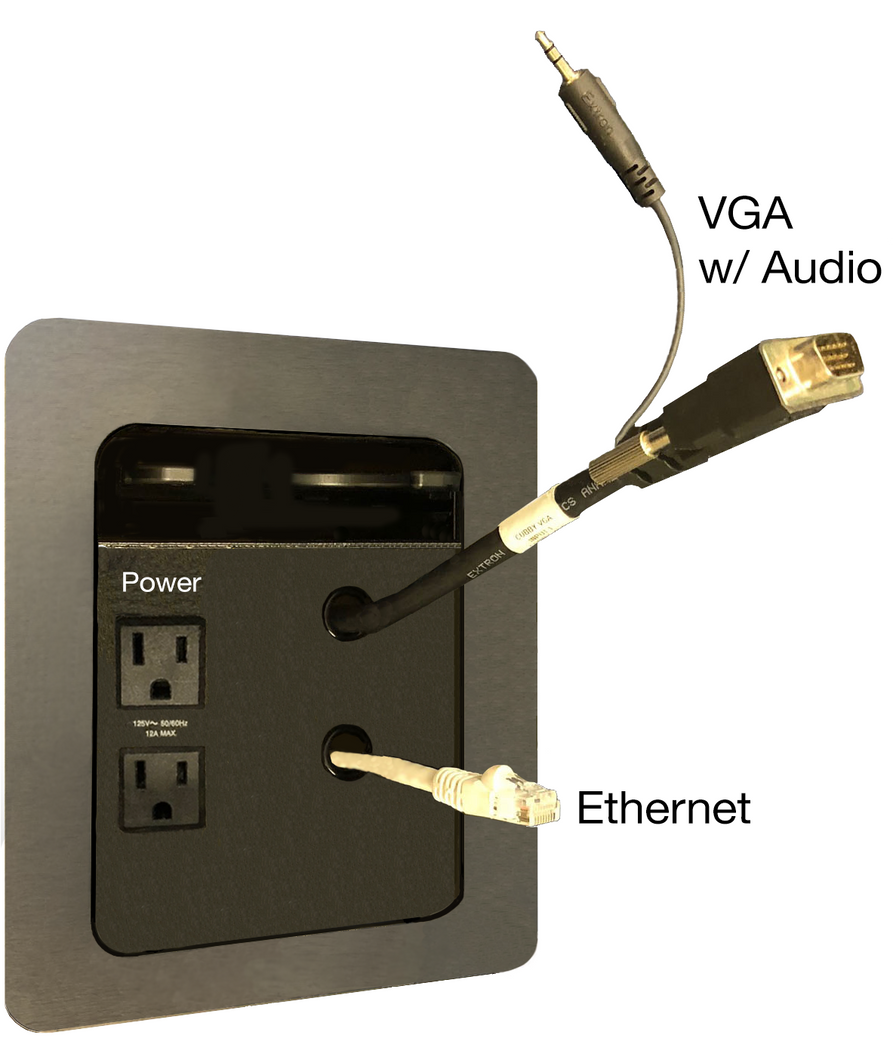
Laptop Computer with VGA Port
Plug the VGA cable and attached audio cable into the laptop.
An optional Ethernet cable is available for wired Internet access.
Select the
Aux VGA button on the touchpanel:

Note: Additional directions are available for configuring laptop computers
on the
Laptop Instruction Page.
|
|
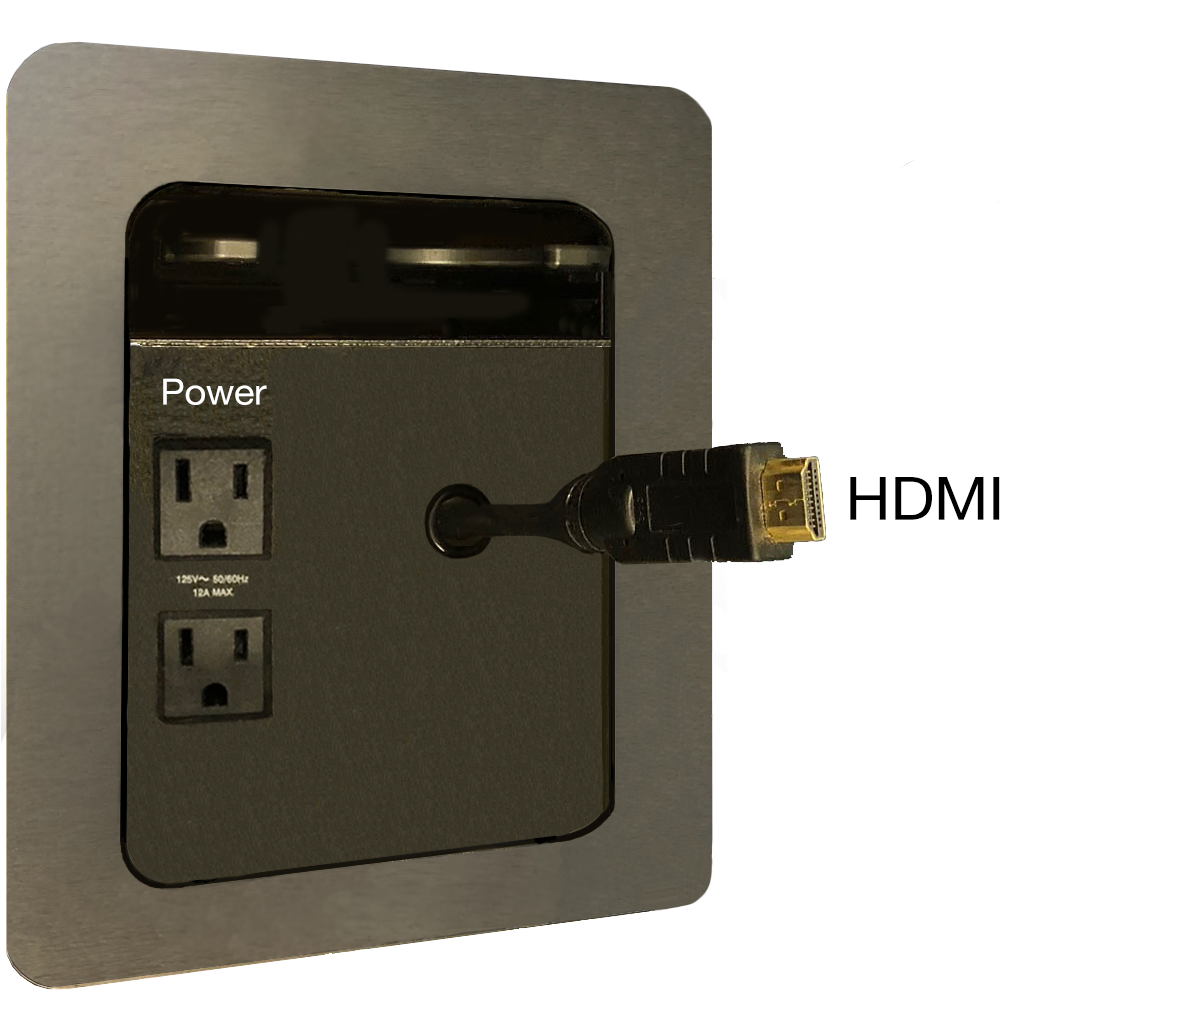
HDMI Video Source
Plug the HDMI cable into the device and select the
Aux HDMI option on the touchpanel:

|
|
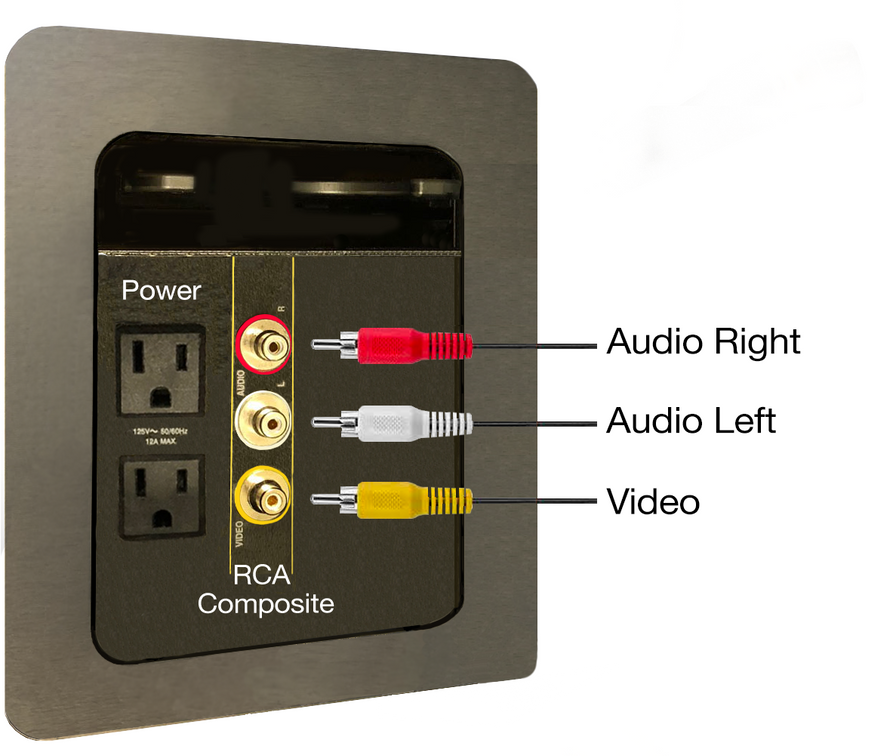
Video Device with RCA Composite Plugs (VCR)
Use the yellow connector for video, and the white and red connectors
for left and right audio respectively.
Select the
Aux Video button on the touchpanel to select this source:
|
|
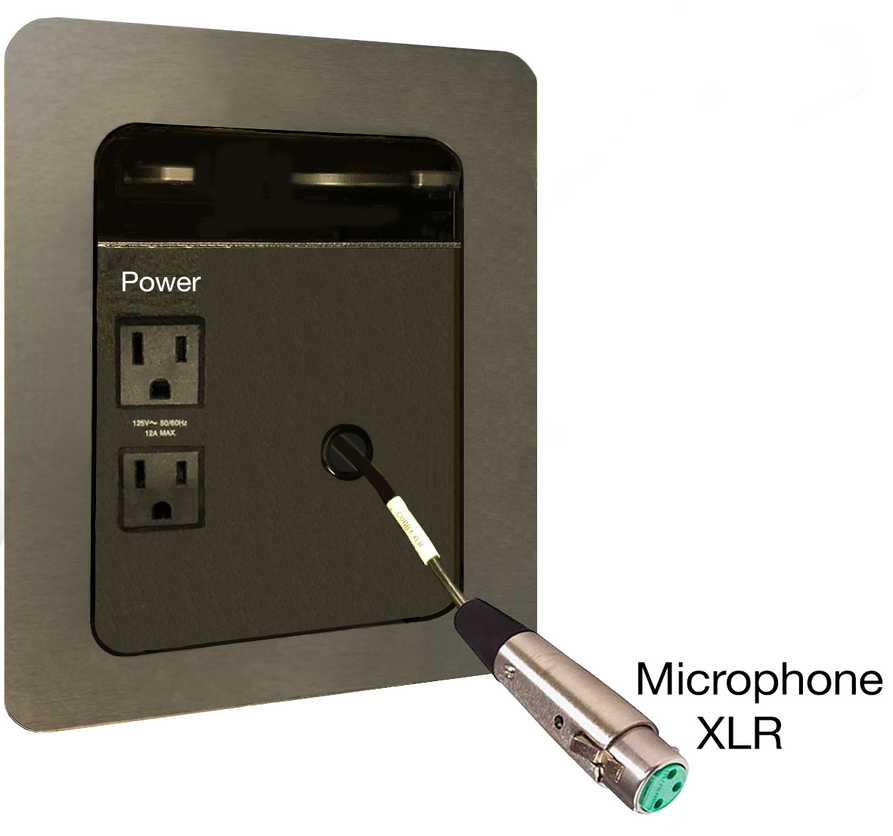
Auxiliary Microphone with XLR Connection
Use the Microphone XLR plug.
Audio level is controlled with the
Mic volume slider bar on the touchpanel:

|
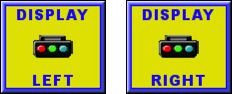
Note: For classrooms with two projectors...
|
|
Project the device onto the left or right screen by pressing the appropriate
display button in the lower portion of the touch panel after selecting
the source.
|